Articles
Fitness
Best Workout Splits for Women to Build Strength & Tone Fast
Discover the best workout splits for women to sculpt lean muscle, boost energy, and stay consistent. Get the perfect plan for your fitness goals today!

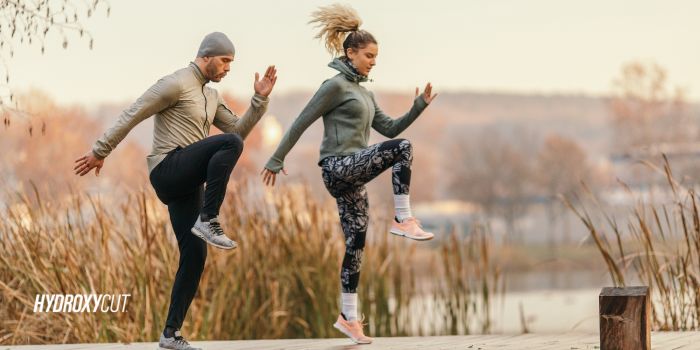
Fitness
60-Day Weight Loss Challenge - Ready to Transform?
Ready to lose weight and feel amazing? Join our 60-day weight loss challenge: transform, gain confidence, and see real results with science-backed support.
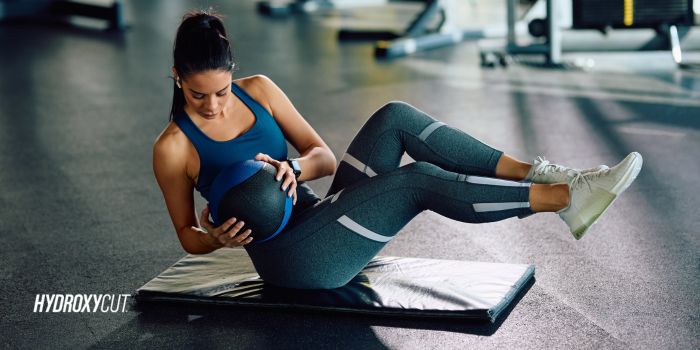
Fitness
28-Day Workout Challenge: Crush Your Goals
Jumpstart your fitness with our 28-day workout challenge! Build strength, boost energy, and stay motivated every day.
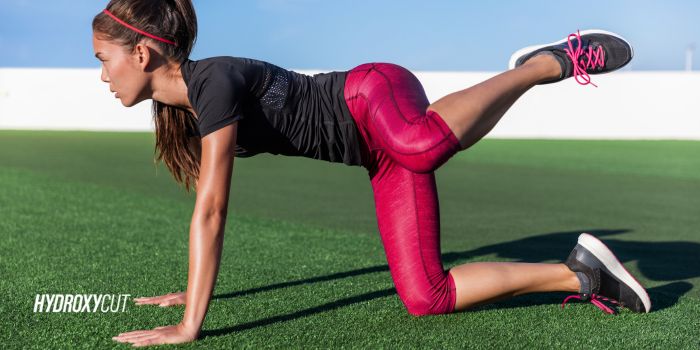
Fitness
Fire Hydrant Exercise - The Ultimate Move for Stronger Glutes And Hip Mobility
Build stronger glutes and improve hip mobility with the fire hydrant exercise. Learn proper form, benefits, and tips for maximizing results.
Lifestyle
6-Week Body Transformation: A Step-by-Step Plan to Your Best Shape Ever
Transform your body in 6 weeks with this step-by-step plan. Build muscle, burn fat, and achieve your best shape with expert workouts and nutrition tips.
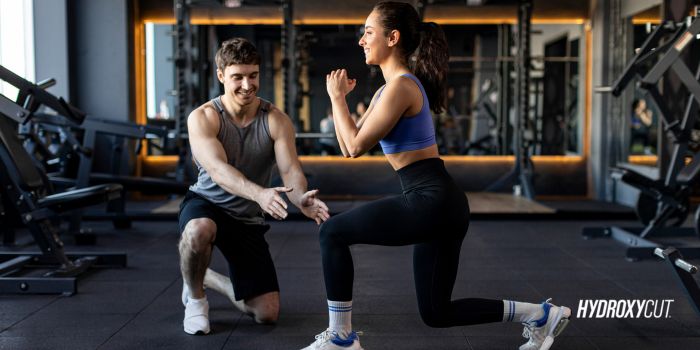
Fitness
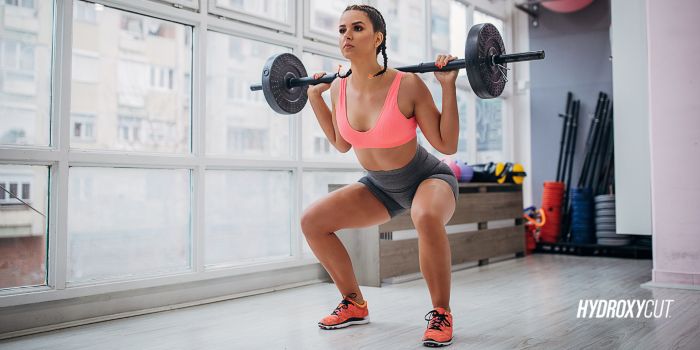
Barbell Exercises for Women – Strength, Confidence, And Results
Boost strength and confidence with these effective barbell exercises for women. Build muscle, improve form, and see results with targeted workouts.
Fitness
How to Get a Lean Body? – The Ultimate Guide
Discover expert tips on how to get a lean body with effective workouts, smart nutrition, and lifestyle changes to build muscle and burn fat fast.
Lifestyle
60-Day Body Transformation – Build Muscle and Get in Shape
Transform your body in 60 days! Build muscle, and get in shape with our expert workout and nutrition plan. Start your fitness journey today!

Lifestyle
6-Week Workout Plan for Women to Build Strength And Lose Fat
Get strong & lean with this 6-week workout plan for women! Build muscle, burn fat, and boost confidence with effective strength & cardio workouts.